Sunday, October 16, 2011

All Daleks Are Grey

Here's the shoulder section, painted primer grey. All I need now to complete the shoulder section are the collars, plunger arm, and gun!


Saturday, October 15, 2011

Shoulder Work

I started by wrapping the shoulder frame in poster board to make a template to transfer to the MDF sheets I am going to use for the "skin". It's an odd shape, so it's much easier to cut poster board to the right shape.


Then I removed the template from the frame and traced the shape onto a sheet of MDF.


Next I attached the new MDF "skin" to the frame with screws in the struts and lots of glue.


I used to same process for the back half. I used a paint brush with a little bit of water to get the MDF to bend into shape  easier.


Wednesday, October 5, 2011

Happiness is a Warm Gun (Box)

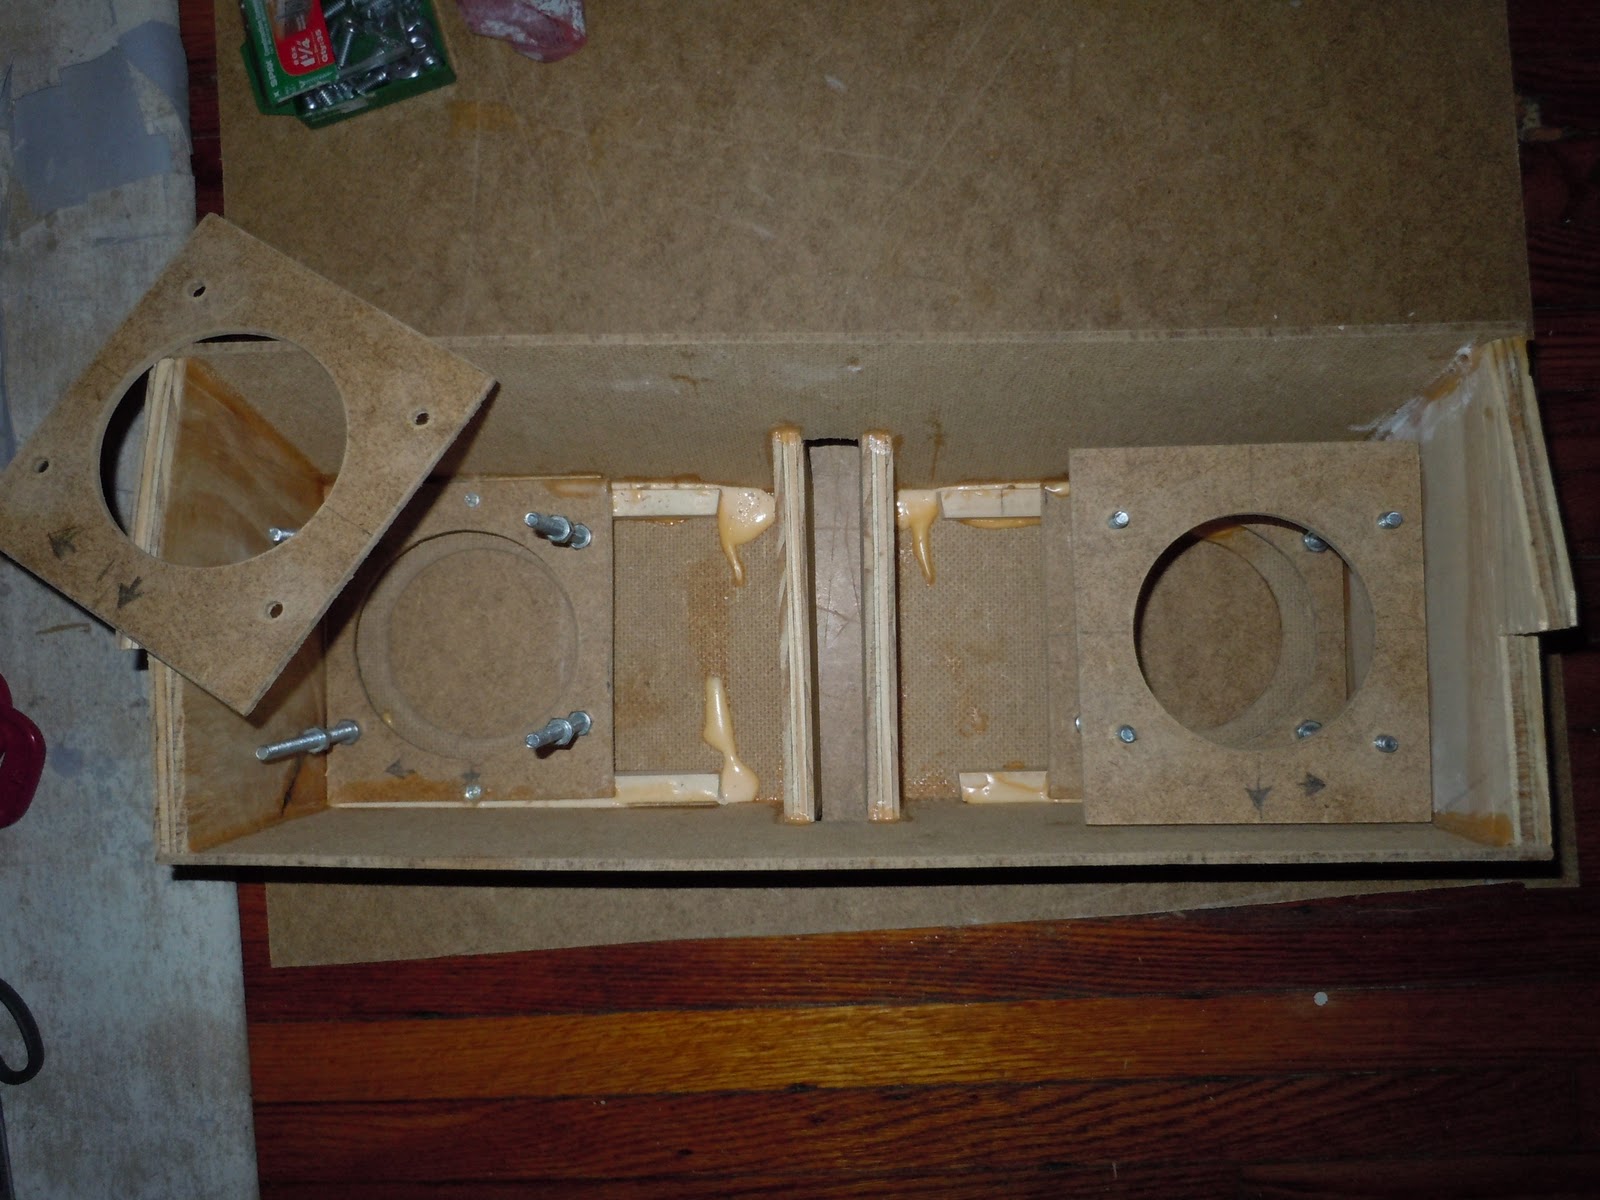
Here's the "gun box" for the shoulder section of my Dalek. The plans and exact measurements for this are a bit sketchy, as it seems they were all slightly different on all the 60's model Daleks. I decided to deviate slightly from my original plans, and go with the "flat top" style gun box first used on the Movie Daleks, and on later TV Daleks. The design change from the angled tops it seems has to do with making the shoulder section easier to remove from the mould once they decided to cast the entire section in fibreglass, rather than insert a wooden gun box later. This didn't really affect me because I'm making the entire shoulder section out of wood and MDF. I just like the flat top design better. It just looks cleaner I think.


The front, with holes drilled for the arms, and a slot in the middle to attach to the shoulder frame.

Contraptions to insert into the gun box to hold the ball joints for the arms in place.

The inside with spacers and bits to attach the ball joint frame thingies.
Ball joint frame thingies attached with screws and a LOT of wood glue.

Monday, September 26, 2011

Widening the Base

I added another layer of wood to get the base to about the right width. It has that nice block board look of the originals now I think.


Sunday, September 25, 2011

Skirt Panels Attached!


Got all the skirt panels attached with lots of nails and glue. They all lined up pretty close to how I expected them to. I had to do some minor trims with an exacto knife and spackle
a few spots to smooth things out.


I glued and spackled the seams on the panels the strengthen everything. Then I painted over them with primer and sanded it.

 An inside view...


And here is the pretty much finished Skirt...


Saturday, September 17, 2011

Installing Dalek Bumps

Everything glued into place. I used Liquid Nails glue, so hopefully they'll all hold.


I might reinforce them on the backs with something... or maybe just stash a roll of duct tape under the seat in case of emergency...