Saturday, November 12, 2011

Got a Dalek Eye On Me

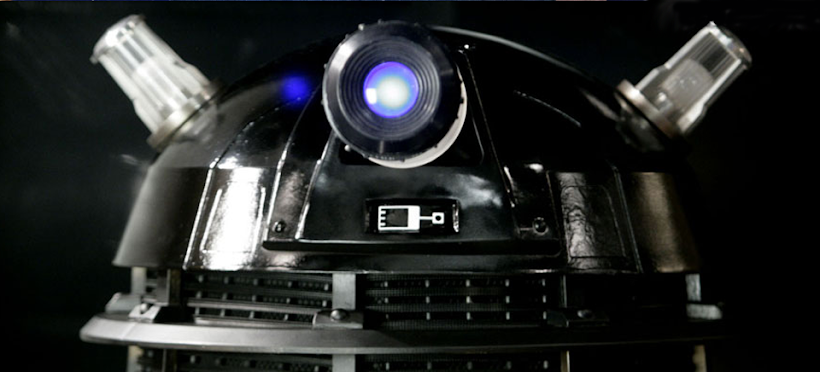
I decided to take a little artistic license with my Dalek's eye. The originals appear to have only a white disc in the middle, except for one, which had a working iris made from a camera lens. I really like the glowing blue eye of the 2005-2010 New Series Daleks, so I decided to give it one of those instead. It's easier to wire than trying to get a camera lens iris to work, and it just looks way cooler. So why not?


I used a 1" diameter length of PVC pipe for the Eye Stalk. Technically, I should have used a wood dowel and trimmed it down to get narrower at the front, but again decided to take a bit of that artistic license here too. I needed the inside to be hollow to run the LED for the eyeball through.

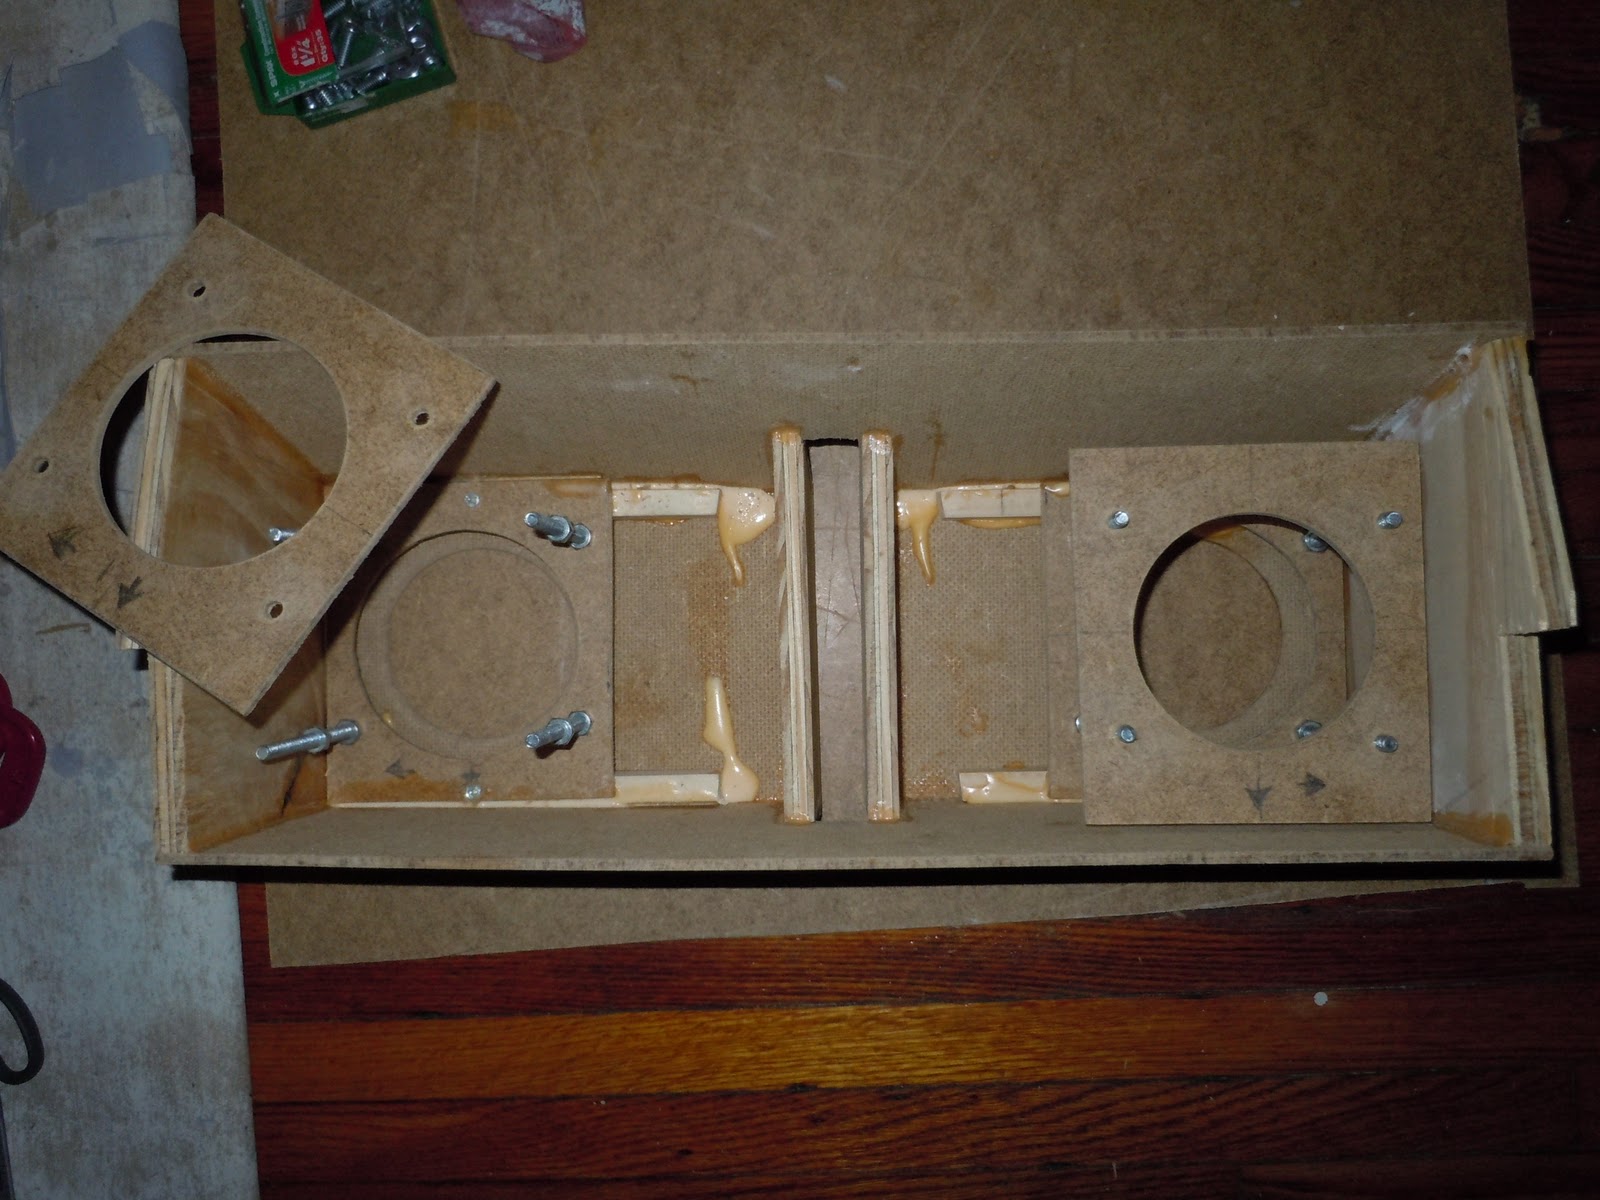
For the hinge bit at the back, I took some MDF disc cut-outs from the skirt panels and sandwiched them together to the right thickness and ran the PVC pipe through it. The back end of the pipe will attach to the eye stalk control mechanism (which I have yet to build.)


Since powder blue Perspex isn't really available anymore, I cut the discs for the eye stalk out of MDF, coated them with wood glue to make them plastic-y, and then painted them the same color blue I used for the hemispheres on the skirt. Somehow I managed to make the center holes in them exactly the right width so I could slide them onto the silver painted PVC, yet still be snug enough in fit that they stay in place. I went with the MK3 Dalek disc pattern and spacing (as well as eye stalk length) again, just because I like it better.


I used another Magic 8 Ball for the eye ball. I started by draining the liquid from it (this time being more careful not to stain my fingers blue). The I sawed it in half to remove the insides, since this one didn't need to remain spherical to act as a ball joint, and I was going to have to trim parts of the front away.


Once all that was done, I used parts of the 8 Ball "guts" to mount the LED in the center. The LED I used is a wired "bolt" style - it's a 10mm LED built into what looks like a large machine screw, with a nut on the back. I think it's meant to be used for automotive purposes - ie, "pimping" one's "ride".


Next I mounted a couple of magnifying lenses above the LED to make the light bigger and distort it a bit. These were from Staples - meant for examining your stamp collection or whatnot. These were attached with MDF discs and bits i cut and glued together to hold everything in place. I painted the inside silver, hoping it would reflect and distort the blue light from the LED a little more, giving it a nice atomic Dalek glow.


I also attached a dimmer knob between the battery pack and the LED, so the operator can change the intensity of the light - just a little thing that might make it look more "alive".

Wednesday, November 2, 2011

The Neck-bin

Here's the inside part of the Dalek neck. I used charcoal colored "supersolar" fibreglass mesh (meant for screen doors and such) for the outside. It shoud allow the Dalek operator to see out, while being hidden from view.


Wednesday, October 26, 2011

Guns N' Plungers


The gun arm is a length of PVC pipe painted silver. I used the bottom straight parts of wire coat hangers (thanks for those Joe!) for the 8 rods that go around the barrel. I was able to bend them into the correct shape with a pair of pliers.


For the plunger arm, I used 2 lengths of PVC pipe that would slide into eachother and then ran a broom handle through them with the plunger cup screwed onto the end. I got it to telescope by gluing a PVC ring to the broom handle about 2/3 the way down so it would push the middle part of the arm out when the arm is extened. That's probably not exactly how you're supposed to do it, but it works.


The ball joints were Magic 8 Balls that I drained of their advice-giving (and finger staining) blue liquid, and drilled big holes in. (See post on that here.)

Here are the completed gun and plunger arms:


Collars


I made the "collars" for the shoulder section out of thin MDF rather than aluminum - cutting aluminum in my apartment just wasn't going to happen. I painted the strips silver and I think they are fairly convincing collars for the 1963 MK I Dalek.

I started by cutting the patterns from the template I made out of poster board for the shoulder skin. Then I traced them onto the MDF sheets, cut them out, and sanded the edges. Next I put ona coat of grey primer, and then metallic silver. Luckily the paint made the MDF bendable, so they were really easy to wrap around the shoulders.


I attached the collars to the shoulder with machine screws and lots of washers and nuts the keep them at the right distance from the shoulder piece.


I connected the strips to eachother with little MDF plates I cut out and joined with more maching screws. These aren't entirely accurate for the '63 Dalek, but I needed to use them to make the collars work, and I think they still look ok.


Sunday, October 16, 2011

All Daleks Are Grey

Here's the shoulder section, painted primer grey. All I need now to complete the shoulder section are the collars, plunger arm, and gun!


Saturday, October 15, 2011

Shoulder Work

I started by wrapping the shoulder frame in poster board to make a template to transfer to the MDF sheets I am going to use for the "skin". It's an odd shape, so it's much easier to cut poster board to the right shape.


Then I removed the template from the frame and traced the shape onto a sheet of MDF.


Next I attached the new MDF "skin" to the frame with screws in the struts and lots of glue.


I used to same process for the back half. I used a paint brush with a little bit of water to get the MDF to bend into shape  easier.


Wednesday, October 5, 2011

Happiness is a Warm Gun (Box)

Here's the "gun box" for the shoulder section of my Dalek. The plans and exact measurements for this are a bit sketchy, as it seems they were all slightly different on all the 60's model Daleks. I decided to deviate slightly from my original plans, and go with the "flat top" style gun box first used on the Movie Daleks, and on later TV Daleks. The design change from the angled tops it seems has to do with making the shoulder section easier to remove from the mould once they decided to cast the entire section in fibreglass, rather than insert a wooden gun box later. This didn't really affect me because I'm making the entire shoulder section out of wood and MDF. I just like the flat top design better. It just looks cleaner I think.


The front, with holes drilled for the arms, and a slot in the middle to attach to the shoulder frame.

Contraptions to insert into the gun box to hold the ball joints for the arms in place.

The inside with spacers and bits to attach the ball joint frame thingies.
Ball joint frame thingies attached with screws and a LOT of wood glue.